Last summer when we were in Maine one of the people staying at the B&B with us was also a photographer. Over breakfast one morning he told me about image focus stacking. The technique is similar to HDR photography, but instead of exposure, different images with various focus and depth of field are combined. Several shots are taken at various focal lengths, and the images are “stacked”, taking the best focused areas from each image to create a very sharp final image.
When I got home from Maine I downloaded Keith’s Image Stacker . Keith Wiley does astrophotography, and wrote the software to sharpen some of his images. I know some people who have gotten excellent results from his program, but I just couldn’t seem to get the hang of it. I lost interest. Last week I upgraded to Photoshop CS5, which has built-in image stacking, and my interest was renewed.
This technique works best where you would traditionally have a narrow depth of field, such as macro work, working with large apertures, or working with a telephoto lens. I always take photos of of cone flowers about this time of year, and I thought they would be the ideal candidate to try out all three of these. The flowers are complex, and it’s often hard to get the entire flower in focus.
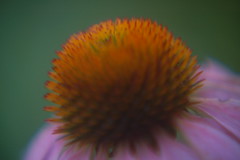
I started with my 50mm f/1.8 and added three close-up lenses for macro work. My intent was to reduce DOF as much as possible, so I opened the aperture wide open. Of course, I had to use a tripod for consistent shots, and I used full manual mode so that exposures would be the same for all shots. In this case I took three shots with different parts of the flower in focus.
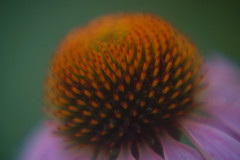
I loaded them into Photoshop using Photomerge, which also aligns the images and loads them into a single Photoshop file as layers. I then selected all the layers, selected Auto-Blending from the Edit menu, then photo stacking. Photoshop did the rest, taking the sharpest bits from all three images. Here’s the result:
Not so great, huh? As it turns out, three shots was probably not enough to really create a sharp image. You wind up with portions of the shot that are still blurred.
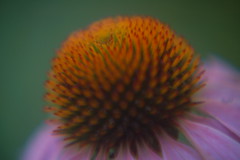
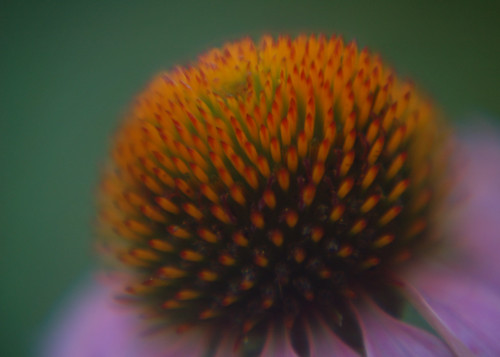
This next one was a composite of five shots, and turned out a bit better, but still has some blurred areas.
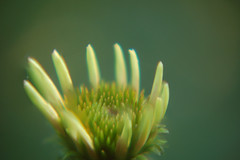
I finally just started clicking away, trying to make sure I had the entire flower in focus for this shot of foxglove. I ultimately picked nine shots from the ones I snapped to create the composite.
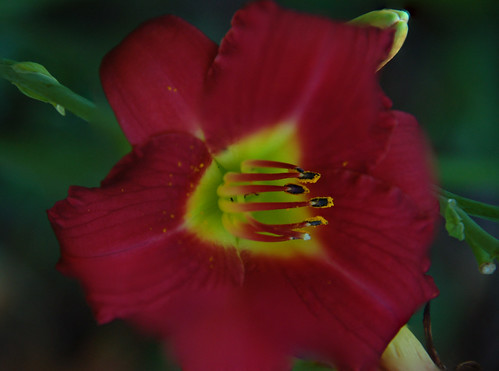
The shot at the top of the page was composed of ten images, and is my favorite so far. For this one I switched from my 50mm to my 200mm to create the narrow DOF.
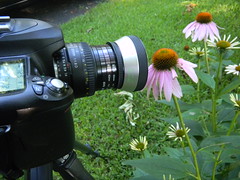
I learned a little trick as I did this. I wound up with dozens of shots of the same flower. These all looked similar, and I wasn’t sure which shots belonged to the same series. I started sticking my hand in front of the camera and snapping a shot of my fingers to indicate when the next series began.
This process preserves what I like about having a narrow depth of field – bokeh and an indistinct background – while also increasing sharpness for the main point of interest. I want to try it with some more subjects. There’s supposed to be a full moon this weekend, and I may try it on some astrophotography with my Celestron telescope, like Keith Wiley suggests. Regardless, it’s another cool tool to add to my photography arsenal.

What is the advantage of this method over using, say, a macro at f 45?
It might be interesting to have an image composited that had two areas of focus at different distances, and the rest somewhat out of focus. As, for instance, if you wanted to spotlight a couple of people or animals in a crowd. An art director in advertising could have fun with that.
I’ll be interested to see the different “tweak” options on this process that Photoshop offers. Love working with these special effects!
An obvious answer to my question would be that shooting with a wide open aperture lets in much more light and keeps down the danger of shake or subject movement. One could theoretically shoot a bunch of shots at f 2.5 or lower, and probably have different sensitivity to light than at higher f stops. Just a thought …
I’ve thought something like what you suggested in the first comment would be cool. However, the movement of crowds, etc., might make this technique harder (but not impossible.) You would have lots of ghosting and blurring, but even that effect might be cool.
As far as a macro at f/45 is concerned, that would certainly give you the sharp image, but in most cases the entire image would be sharp. This looks like it would be good to selectively sharpen certain parts of the image.
Speaking of ghosting, I did some multiple exposure shots once at The Ted in Atlanta. Looking down on crowds entering the stadium. I shot a number of shots onto one frame of film. The images did indeed have some ghosting – like what I’d think could be used in a Stephen King movie about people who are not quite solid.
You’ve actually given me an idea. I’m going to take the camera to a crowded area of Charleston after dark (Meeting Street with the restaurants?) and take several long exposure shots. It will be interesting to see what happens when these are stacked.
If you could capture the changing light, too, it’d be interesting to see what that might lend.
Charleston can be a remarkably fun city to photograph. For instance, some of the reflective spherical ornaments give cool wide angle reflective photography. And such a variety of subjects.
Tom, I think your idea of the crowds in a long exposure could be really interesting. Kind of like the light trails from a highway. Just blurs of people where the buildings stand.