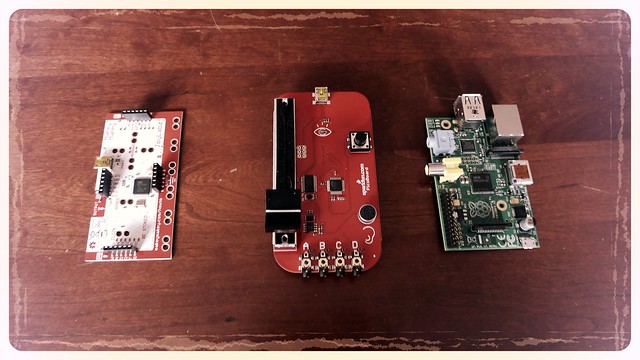
I’ve been having fun with the MaKey MaKey. However, it has some limitations. As the name implies, it can substitute for any key. However, there are some limitations. If you want to get into sensors and other extended capabilities, you need more stuff. You can use the device as an Arduino, but you would need to add light sensors or microphones, etc. I decided to expand my capabilities. I added two more components to my collection – a Picoboard and a Raspberry Pi. I’ll start by describing the three boards and their capabilities, and will describe specific projects in later posts.
PicoBoard
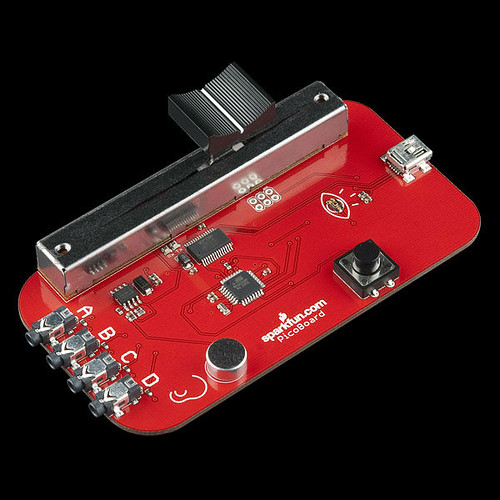
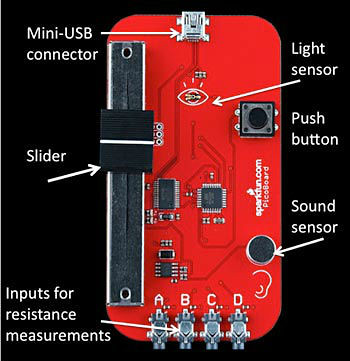
Since I’ve already described the MaKey MaKey, I’ll start with the Picoboard. The Picoboard contains a series of sensors, including a slider switch, push button, light sensor, audio sensor. These sensors are based on electrical resistance, and return a value based on that amount of resistance. There are four inputs for alligator clips that can be connected to conductive material, kind of like the MaKey MaKey.
Since the MaKey MaKey substitutes for any key, it will work with just about any program, but it’s a perfect match for the Scratch programming language. The PicoBoard, on the other hand, will only work with Scratch, as far as I know. In fact, the PicoBoard was originally known as the Scratch Sensor Board. The device was built and sold by the Playful Invention Company until about 2009, when it was discontinued. It has since been picked up by SparkFun. In other words, it’s a board that’s got some age on it.
Raspberry Pi
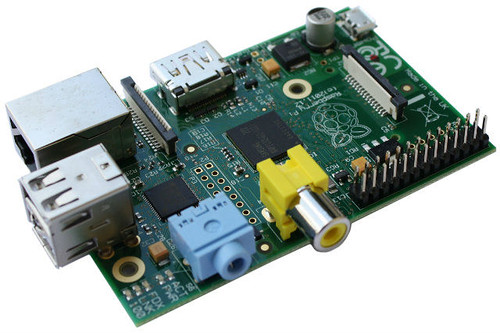
The Raspberry Pi (RPi) is a full-fledged computer that will fit into an Altoid tin box. It has 512 MB of RAM, and ARM processor that handles Linux nicely, HDMI and composite video and audio outs, and two USB ports. Instead of a drive it reads and writes to an SD card. All of it is open sourced. Sweet. I got the B unit, which comes with an Ethernet port.
One of the great things about the RPi is that it can run several different operating systems. Most run Raspbian, which is a version of Debian Linux optimized for the RPi. However, it can run other distributions and can run a couple of different flavors of the XBox Media Center (XBMC). Since these boot off of an SD card, swapping to a new operating system is as simple as changing SD cards.
When these things first came out I had no idea how I might use one, but now I’ve got tons ideas. Most of these involve time lapse photography. More on that in a later post.
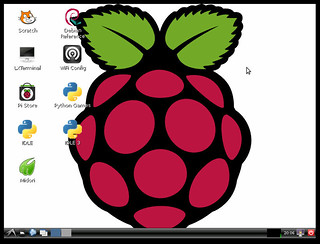
Each of these devices does something different and could be used for their own projects, but they also play very nicely together. Any of the programs that run on Linux will work with the MaKey MaKey. Raspberry Pi comes with Scratch installed, so it will work well with the PicoBoard. Right now I’ve got ideas of ways that I could create a type of Theremin, where the PicoBoard resistance sensors trigger the sound board on the Raspberry Pi, and instrument/timbre selections could be made with MaKey Makey connections.
So, lots to do an experiment with on these cold winter days. We’ll have to see see what I’m able to create.
UPDATE: I’ve been reading more online about these devices, and found a great video explaining the differences. The PicoBoard is based on an ATmega328 processor, which is the same processor used in many Arduino boards. Since the MaKey Makey is Arduino-based, this makes it more akin to the PicoBoard than the Raspberry. The following video does a great job of explaining the difference between Arduino and the RPi, and when you would want to use each.
Let’s consider one specific application of interest to me – Time Lapse Photography. If I were going to create a computer controlled dolly mechanism for panning a camera during a time-lapse session, I’d probably use an Arduino since it would primarily be controlling motors. If I were going to be controlling the camera directly, or collecting the images, I’d use the Raspberry Pi.
