Since I had been working some much with old stereographs and converting them into 3D anaglyphs, I wanted to try my own stereographs. My first attempts were OK, but not great. I was attempting to use one camera to create two images, but the results were often unpredictable.
I did learn a a trick with this process, though. Fairly decent results can be obtained by first putting your weight on your right foot and snapping a shot, then shifting your weight to your left foot and shooting. That gives just about the right amount of separation for a good stereo image.
Unfortunately, this process has some drawbacks. First, it’s awkward if you want to get a shot that’s not easily taken from a standing position, say, a low show of flowers or a still life. Also, it won’t work if there is any movement. You need some way to snap two images simultaneously.
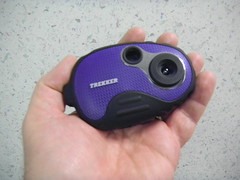
I did come up with a way to do just that. I found a couple of VERY cheap cameras online. My only criteria was that the cameras had to have at least 3 megapixels, have a tripod mount, and have a self-timer. My solution was the Global Point Trekker camera, which cost me a little over $10 through Amazon.com (ignore the $34 price on their home website.)
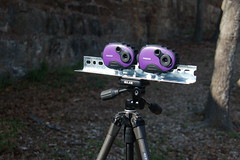
I bought a bit of angle iron and some 1/4 inch bolts and nuts, and put together my stereograph rig so that it could be mounted on a tripod. The whole kit and caboodle (minus tripod and SD cards) came in right at $30.
This rig sat on my desk at work for over a week, waiting for me to have an opportunity to give it a try. Unfortunately, things were just too crazy at work and at home. Finally, Friday of last week I stopped by the Pelham Mill Park to see how it works. I figured that the ruins and the dam would provide some interesting perspectives for 3D work.
I set the cameras to self-timer mode and triggered both at the same time. The metal support bracket was a bit unwieldy, so using the timer reduced vibration. I took several shots around the old mill office, the dam, and the mill ruins.
Back at home I almost screwed up the entire experiment. When I took the cameras off of the bracket to remove the SD cards I forgot which was the right and which was the left. Fortunately, I’ve been working with these anaglyphs for long enough, so I was able to figure it out. I labeled both the cameras and SD cards L and R so as not to repeat the mistake.
The first thing I noticed was that the cameras were not consistent. They had slightly different white balances and coloring. Here are two images for comparison:
The left images has a reddish cast to it, while the right looks more normal. This was consistent with all of the images I took.
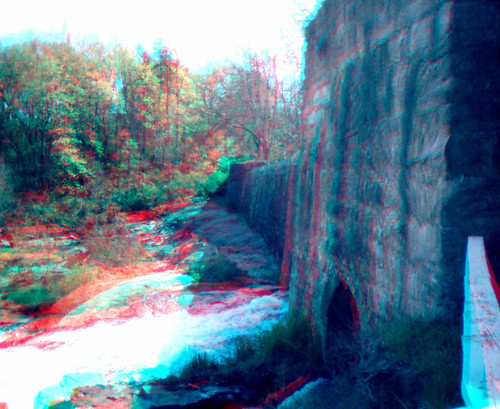
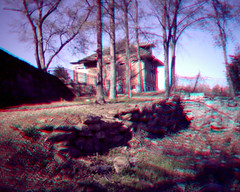
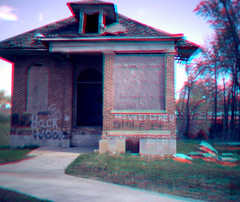
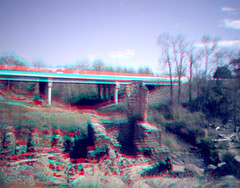
Regardless, I merged the right and left images and changed the channel levels to get the appropriate cyan-red image. Here are a couple more from that series:
I had to really work to find a good focal point and merge the images. Even so, sometimes the parallax didn’t come out right, and the images don’t have as good of a 3D effect.
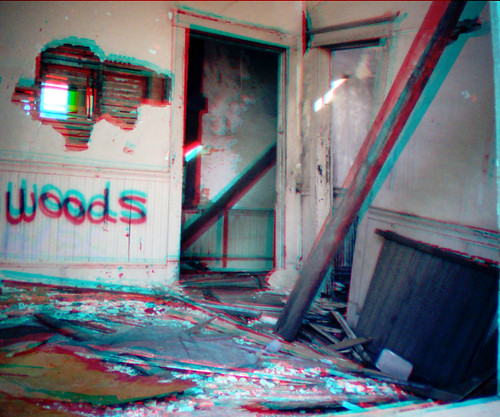
My one favorite, and the one I think has the best 3D effects of all of them, was a shot of the interior of the old office:
Viewed with 3D glasses, it almost looks like you could walk through that back door.
I wanted to get more shots over the weekend, but the weather didn’t cooperate. I tried getting a shot of our dogwood tree, of the tulips out front, and a couple of other subjects. I just couldn’t get the images to line up, for some reason. With the deeply overcast sky, lighting was terrible for these cheap cameras, to make matters worse. I may give it another try if it ever stops raining around here.
