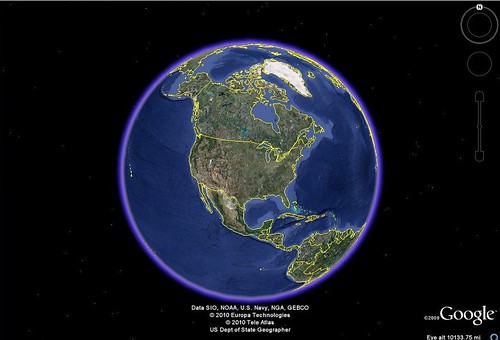
I recently received a request for help from one of my readers regarding Google Earth and PowerPoint. The reader wanted to know how to put a Google Earth tour into PowerPoint. This website gets lots of hits from folks wanting to learn how to embed Google Earth into their presentations, but Google hasn’t made it easy. Therefore, I’ve put together a tutorial for one method, but first it might be helpful to clear up a few things.
- Google Earth Tours – Yes, you can create and save tours. However, the files that are created are KMZ files that can only be opened in Google Earth. These are NOT video files, and they cannot be easily imported into another program.
- Embedding Google Earth – Right now there is no good way to get Google Earth to play in a PowerPoint slide. You could create a link on your slide that opens a KMZ file outside of PowerPoint in Google Earth itself. You could also embed a web page that has the Google Earth plug-in for web enabled, but that get’s to be more complicated than it’s worth.
I’ve already demonstrated how it’s possible to add PowerPoint slides to Google Earth. However, I still get inquiries for the other way around – adding Google Earth to PowerPoint, even though the two points above make it difficult, if not impossible. Well, there are a couple of ways, but they’re not perfect. The first involves just exporting static images from Google Earth and putting those images into your slides. The other involves video screen capture. Here’s how it’s done…First, you need some sort of screen capture program that will save your work as a standard video file. Jing is great, but the free version only saves as a Flash SWF file, which won’t work with PowerPoint. I recommend the free CamStudio, which is a simple, lightweight screen capture program.
Using screen capture you don’t even need to create a Google Earth tour. You simply start the capture program recording, then visit the sites you want in Google Earth. Once you’re done, save the screen capture as an AVI file, which can be imported into PowerPoint. Here is a video demonstration…(Note – the tutorial starts as soon as you click the link)
If you would like to see a larger version of the tutorial you can do so here at this link.
The video on the tutorial is a bit jerky because I was running both Adobe Captivate and Camstudio. Trust me, though. The final product is very smooth and works very well. If you would like to see the actual video that I recorded in this session it’s available on YouTube here…
One of the other benefits of this method is that it will work without an Internet connection. Everything is self-contained to your PowerPoint presentation.
Of course, you could eliminate the screen capture step by subscribing to Google Earth Professional. It has a way of exporting AVI files directly from the program. However, it’s pricey – nearly $500 per year for subscription. This method will probably work just as well unless you want broadcast quality.
Related Posts:

Someone is copying your articles: http://powerpointfan.blogspot.com/2010/04/add-google-earth-to-powerpoint.html
Interesting…looks like they copied all of my PowerPoint articles wholesale. Even the internal reference links have been copied. Unfortunately, commenting is disabled on that site. If they are going to steal my content so unabashedly, I doubt they would respond to a comment or an e-mail.
Thanks for bringing it to my attention, though.
Thanks a lot for the tutorial! It helped a lot 🙂