File this under one of those “now that you have the time” requests. John Kaup handles science education outreach for Furman, and had first approached me about this project. Elaine Smith is a chemistry teacher at Marion High School in Horry County, and she is spending the summer developing modules for teachers to use with 3D printing. As part of this project she wanted to develop short introductory and closing video segments for each module. That’s where I came in. They needed my services to help put together the videos.
The project itself is quite fascinating. Elaine is working with Tim Hanks and Casper Wright from Furman on using 3D printing to create biomedical structures. Tim and Casper’s research involves developing alginates that are electrically conductive. These alginates can be loaded into a 3D printer and printed into any shape, and research is being done to see if they can eventually substitute for neurons and other tissues. Elaine’s portion of the research is to develop simple demonstrations for these techniques for high school students.
For this project I wanted to use the best possible image source that I could, and I decided that was my Nikon D7000 DSLR. I hadn’t really done any video with it. In fact, I had shied away from video on this particular camera because the audio quality wasn’t what I wanted. The built-in microphone tends to pick up motor noise from the autofocus and image stabilization on the lens.
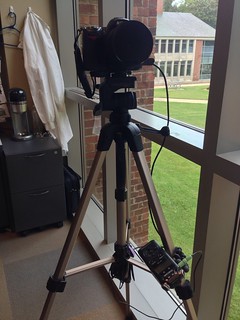
So, audio was the first thing I had to address. I played with a couple of options, but finally settled on a fairly elegant solution. I took my Tascam audio recorder and connected a patch cable from the line out jack on the recorder to the microphone in on my camera. I used a 20 foot extension cable, so I could place the recorder/microphone very close to the action. One nice benefit is that I get dual audio, on both the recorder and the camera, just in case the camera audio isn’t up to what I want. I could also put the recorder on a Gorillapod and put it onto any of the light mounts or even my tripod, as shown below:
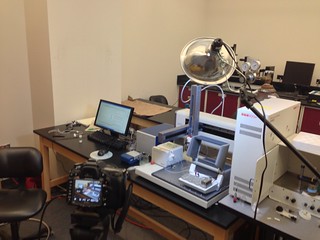
I don’t have studio lights, so I grabbed a couple of utility lamps with compact fluorescent daylight bulbs, a microphone boom stand that I had in my studio, and a spare tripod. I’d use these for fill lights as necessary.
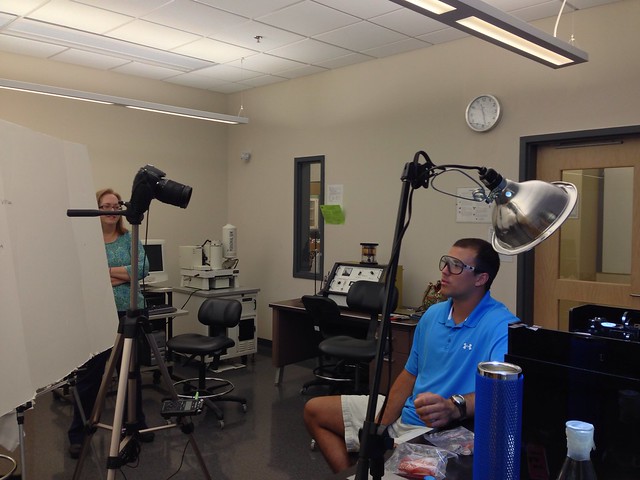
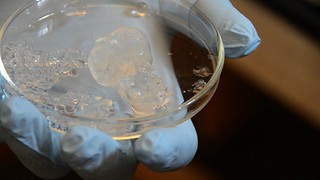
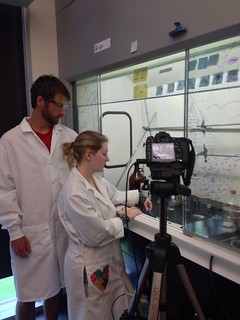
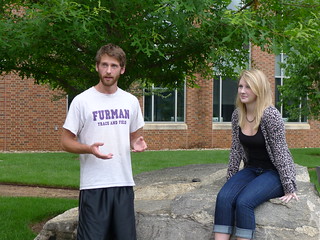
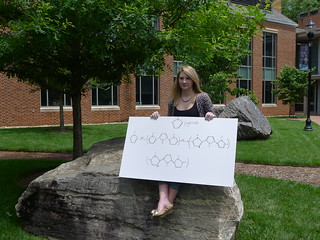
Shooting took place over two days. We used several Furman students to demonstrate and explain the concepts and instrumentation in use. Here Brian and Leah first demonstrate the conductivity of the alginate solution under a hood, then explain the structure of the substance in an outside shot.
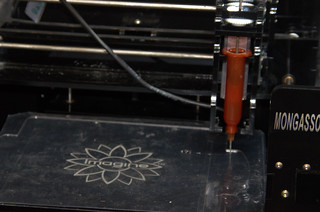
Trent explained and demonstrated the 3D printer and discussed the process with Tim.
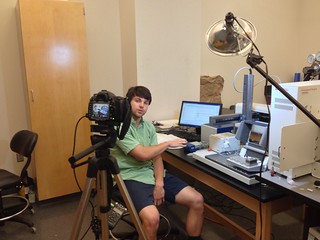
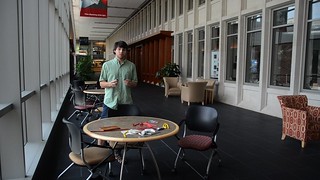
Campbell demonstrated the Quartz Cyrstal Micro Balance (QCMB) and also demonstrated elasticity using Airheads, Twizzlers, and rubber balls.
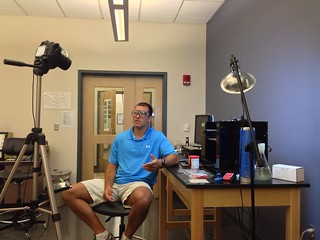
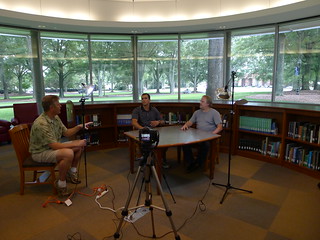
Tim and Casper wrapped things up with a couple of interviews. Here they are in Tim’s office…
…and here’s a clip of the raw video from that interview…
There was a learning curve getting the D7000 set up correctly for video, as opposed to still photography. They knew I was an amateur, and we all learned together through the process. I’m please with the overall results. I just shot the video, and have passed it all along to Elaine for processing. We’ll see what comes out!

Wow, this is great. I first saw the article at blog.3dprintingmodel.com but apparently it is posted here too. Can’t wait for 3D printing to really take off! I’m still working on a bastardized 3D chocolate printer from an old CNC machine. 😉 =D, it is a work in progress.