In the last post I made some comparisons between creating a time-lapse video with a DSLR and creating one with an iPhone app. I was curious as to how these would compare, so I decided to do a shoot-out.
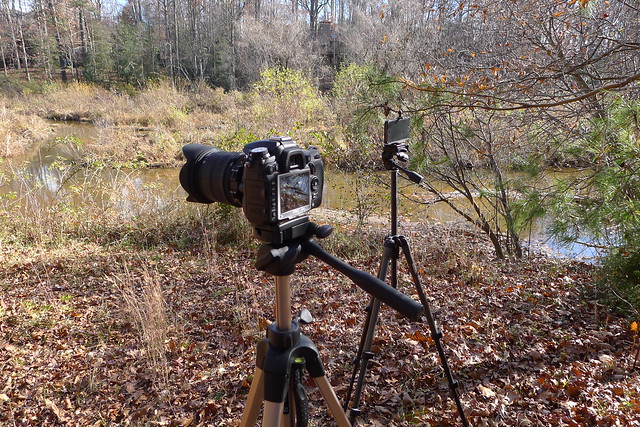
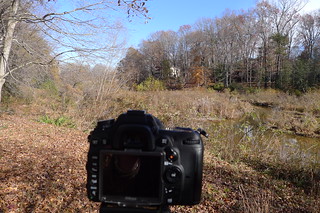
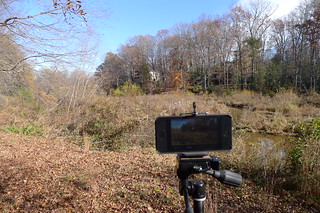
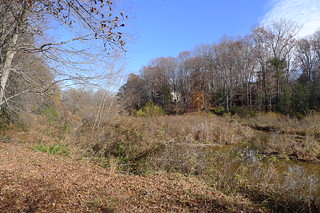
I set up my Nikon D7000 in interval mode shooting at 1 frame every five seconds. Right next to it I set up my iPhone 5 with the iMotion app, also set to take 1 frame every five seconds. Both of these were set up next to our lake, showing the same scene.
The plan was to let this run for 2 hours, then compare video quality. I was hoping to get some moving clouds, a few ducks, and anything else that might be moving. As it turns out, I got mostly wiggling weeds in both shots.
The first problem I encountered was one of memory. Even with the image size reduced, I still ran out of space on the Nikon’s SD card before the two hours was up. I stopped the iPhone prior to the two hours. It also looked like battery usage was going to be an issue, too. The iPhone’s battery was about out, and the Nikon’s was low, too.
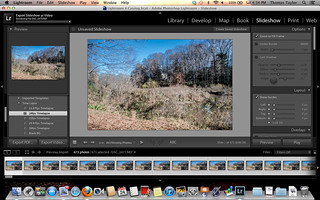
I took the RAW images from the Nikon and imported them into Adobe Lightroom. I ran a couple of enhancement filters on the 533 images in the series, then rendered them into a 1080p HD 24 fps MP4 video. The rendering was very time-consuming, taking longer than it took to shoot the images in the first place – a couple of hours.
The iPhone wasn’t any more efficient, even though it was all self-contained. It rendered the video in 1080p HD 24 fps MOV format within the iMotion app in about a couple of hours, as well.
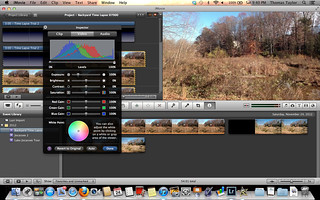
I copied both videos to my Mac and imported them into iMovie just to add titles, then uploaded those to my Flickr account. The results are shown below for your comparison, starting with the D7000…
…and here is the iPhone video…
Conclusions?
The results look very similar. The D7000 as a wider field of view, but colors and everything else look about the same. I had made the comment in the last post that using the RAW images in Adobe Lightroom gave you more flexibility for adjusting the images. That is true, but only slightly. iMovie also has lots of editing tools build into it which can be used for output from either source – D7000, iPhone, or anything else.
As far as convenience is concerned, the iPhone isn’t really that much more efficient. The processing time took as much time as the RAW images. The one nice thing is that everything you need can be contained in one device – camera, iMotion, and iMovie – plus the ability to post it to video sharing.
What you do get with the D7000 is greater flexibility in lens, camera settings, and performance in low light. However, I guess it can be argued that you can now use clip-on lenses with the iPhone.
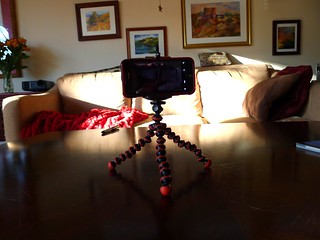
And lest any Android users think I’m short-changing them, I did try using the Lapse It Pro app for Android. I set up my phone so that it would capture morning shadows moving over the living room furniture. The same tripod bracket I used for the iPhone worked great with my Android phone on the Gorillapod.
I used the same 1 image per five seconds setting I’d used with the other videos. It captured the moving shadows beautifully. However, when I tried to render the images into a 720p 24 fps video I got an “Out of Memory” error. My three year old HTC Incredible just couldn’t cope. Perhaps a newer Android phone would work better.
