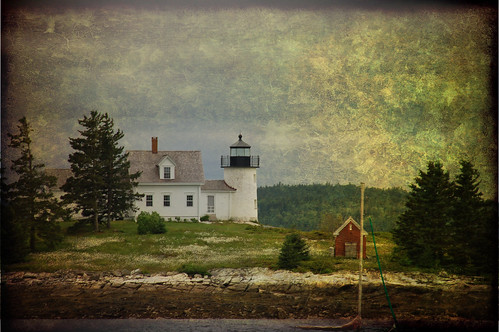
The problem with traveling during a week of fog and rain is that all of your shots start to look the same. The only way to remedy this is with a bit of post-processing. Adding a texture layer can be a quick way to add interest, but it can be overdone, and it can obscure the main focal point of your photo. Here’s a quick tutorial on adding a radial mask to your texture layer to preserve your focal point.
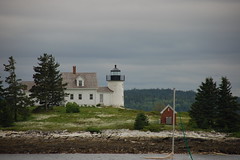
I started with a photograph of the Pumpkin Island Lighthouse in Maine.
It looks a little “blah” so I opened it in Photoshop and added the Harvest texture by Ghostbones.
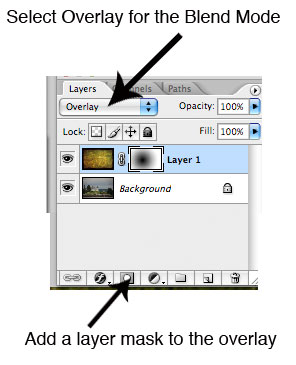
To do this, I opened the texture layer in Photoshop, changed its size to match the size of my photo, then pasted it as a new layer. I then changed the blend mode of the photo to Overlay.
This was the result…
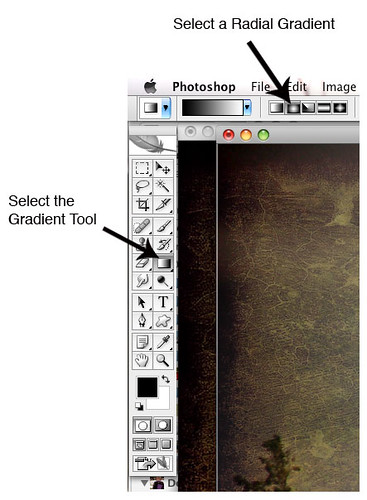
As you can see, the lighthouse gets a bit lost in all of the texture. To fix this, I added a mask to the texture layer. With the mask highlighted, I selected the gradient tool. From the options, I selected a radial gradient.
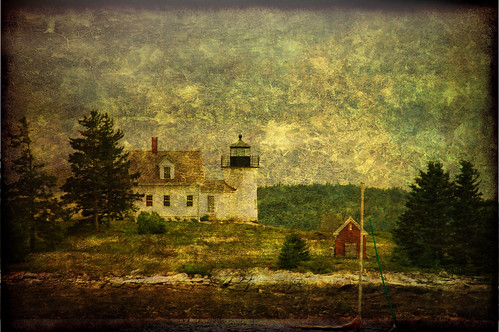
I clicked on the center of the lighthouse and drew the gradient line outward a bit. The result is that the texture is masked around the main focus of the the photo, the lighthouse, and blends outward toward the edges of the photo.
