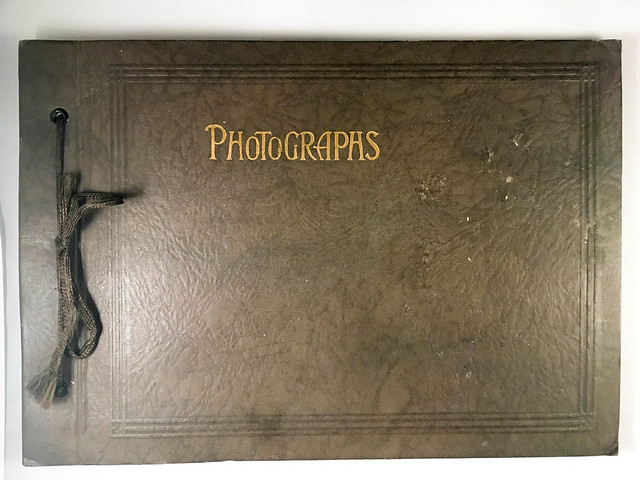
Lately I’ve been hit with a deluge of old family photos. There are the Wright Family photos we found out on Samish Island. We shipped eleven boxes of albums and photos back to the east coast. Then there are the Taylor Family photos – thirteen organized and labeled albums. Throw in all of the photos I’ve taken in pre-digital days, and the number of images is astounding. I would really like to convert all of these to some sort of a digital format, but it is a mountain of a task. For the past several days I’ve been working on workflow and equipment to make the job go as smoothly as possible. Here’s what I’ve learned…
It’s the age old problem. You can have speed, or you can have quality, but unless you’re willing to spend tons of money on a high-speed scanner, you can’t really have both. With this particular project, speed is an issue, especially with the Taylor Family photos. We’re about to put the family home on the market, so I only have limited access to those photos and need to capture them as quickly as I can.
Before investing in any new equipment I had to see if I could maximize workflow with the equipment I have. I’ve got a good scanner, and would prefer it for high resolution archival images. The problem is that it’s time consuming. I don’t have a photo feeder. The next option would be some sort of photo copy stand, and that’s the method I pursued first.
A couple of years ago I got a little light-box setup for Christmas. It came with a small copy stand, but it isn’t sturdy enough for my DSLR. In fact, it will only hold the lightest of my point-and-shoots. Also, none of those have a remote shutter release, which is essential to minimize movement and problems. I thought about using my GoPro, which can be triggered with either a remote or my iPhone, but the distortion of the wide angle eliminated that choice.
Here are methods I explored…
Method 1 – Tripod and Music Stand
Taking the individual photos out of the album, imaging them, then replacing was out of the question. Neither did I want to take the pages out of the album to scan. That meant I needed to capture the entire album page then extract the individual photos. I wanted to capture the highest resolution image possible because I knew I’d be cropping smaller images from the overall shot.
I used my music stand to hold the photo album and a tripod to hold my Nikon at the correct angle. I used my 35mm prime lens to get the sharpest image I could. I could mount small lights either on the stand itself or to the side to illuminate the subject. I would trigger the camera with a remote to reduce vibration and the risky of bumping the camera out of position.
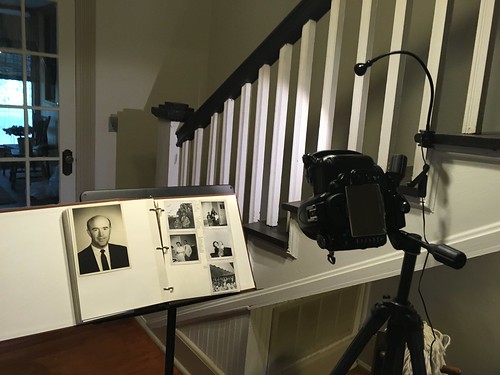
I did some test shots and discovered some things about the camera settings. First, manual focus is a must. Auto-focusing for each shot will really slow things down, and you probably won’t get the results you want. You will need to refocus after several shots as the distance to the lens will change as you turn pages. I also set the aperture at f8 to get the sharpest image I could. If I used my widest setting (f/1.8) it would narrow the depth of field and might create even more focus issues.
As for lighting, the f/8 setting is also going to mean a longer exposure time. I took ISO off of auto and set it to 400 to reduce digital noise. That was going to further increase exposure time. However, as long as I had good side lighting and minimized bumps and movement, I should be OK.
Finally, the test images I shot came out too warm. There was too much warm paint reflection and incandescent light. I set the white balance manually to 2500 Kelvin, about as cool as you can get. Since I was shooting RAW images, I could adjust this later. Next time, I’ll use white LEDs or something similar.
Then I dove into shooting…
I shot the right hand pages first, then shot the right hand pages. It took me about 15 minutes per album at first, but I got that time down as I progressed (and as I got tired.) With the setup, experimentation, and imaging to took me most of the day, but I got all of albums imaged. Now comes the hard part…post-processing.
I started with Lightroom. After I imported all of the images, I cropped down each page image then desaturated for the black and white images. I saved one copy of the album page so that I retained all of the metadata and notes my sister-in-law Lynda had written in the margins when she put the albums together. I wanted to keep the info about who was in each shot.
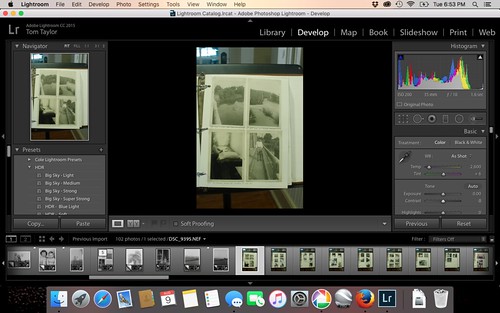
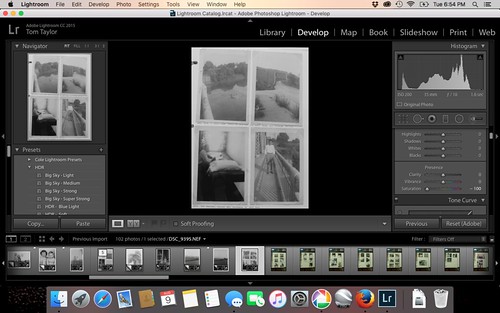
I then created one virtual copy of the image for each photograph on the page. Finally, I cropped and adjusted each photograph on the page.
There were color photos mixed in with the old black and white. Some of these had faded badly, so it was better to just discard the color information in those cases and convert them to black and white. In that case I kept two copies of the album page – one with the color, and one in B&W. I didn’t save two copies of the problematic images, though.
The process was slow. Even using tricks to auto-align the images and an synchronizing settings across multiple images, it took me the better part of two days to render one single album.
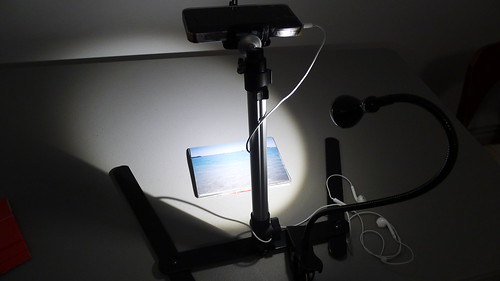
Method 2 – iPhone with Copy Stand
This was taking too long. I needed to find an alternative. I started with software options. Photoshop has a nice “Crop and Straighten” script, but it’s quite imperfect. It cropped things wildly, and if I left a bit of the surrounding background in it, then the results were even more whacko. So much for that.
I found a good script for GIMP that was supposed to be better than the Photoshop script. The article was written in 2013, and it seems that the script no longer is compatible with my Mac. It locked up and didn’t do anything. Back to Lightroom.
I remembered seeing a pop-up ad on Facebook (scary) for an app that supposedly does exactly what I want, but on an iPhone. I decided to give PhotoMyne a try. The idea is that you snap a photo of the album page, and the app automatically parses the individual images. Again, it didn’t quite live up to expectations. I set up the iPhone on the small copy stand.

That turned out to be fortuitous. Normally you can use the volume control on the earbuds as a remote shutter release. It doesn’t work with this app. You have to hold the shutter release spot for 3 seconds. Honestly, I don’t see how you could use this app without a tripod of some kind. The resulting images still need to be tweaked. I might as well use Lightroom.
I tried another method. I decided just to use the regular camera app with the remote shutter release. To start I decided to try it with a stack of photos. Since this has autofocus, the image would automatically adjust as the stack gets lower. I set up a couple of lights to help even out the lighting.
This system worked fairly well. I ripped through a stack of images in no time flat – snap, pull, snap, pull.
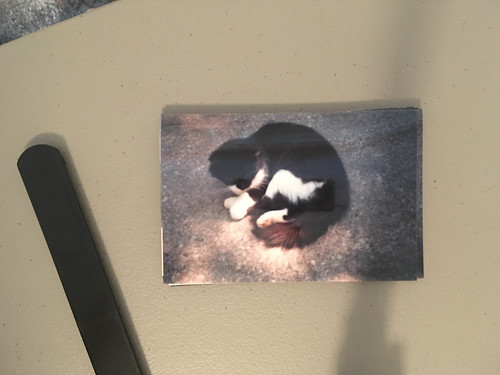
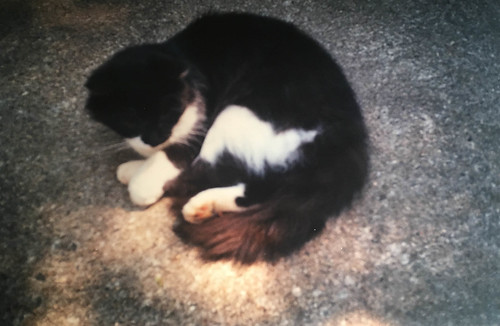
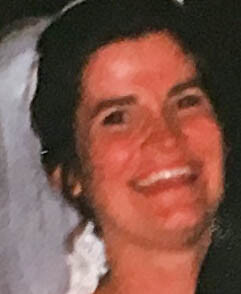
Yet, there was a cost for this speed. The images were nowhere near as sharp a scanner or my DSLR. For example, here’s a photo of our friends John and Kate at their wedding.
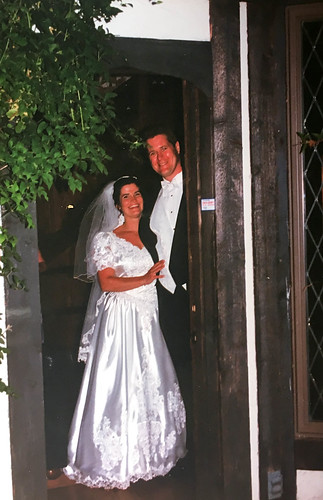
While the image looks OK for web, it’s not sharp enough for printing, or if you want a larger version of the image. If you zoom into Kate’s face you will see lots of digital artifacts.
The old Speed vs Quality issue strikes again. I might try this with my DSLR set up as I did with the album pages.
The lights I had available were creating some lens flare on the images. I needed to either diffuse the light, or bounce it. I decided to try the actual light box that came with the copy stand. It worked pretty well.

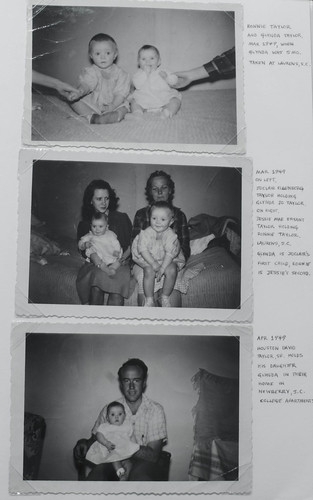
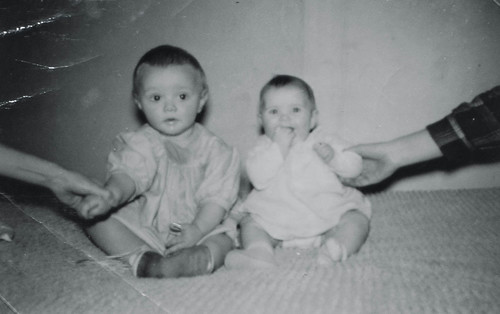
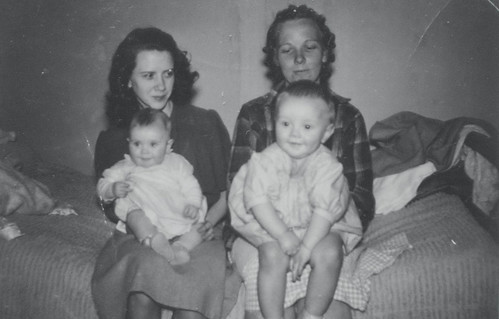
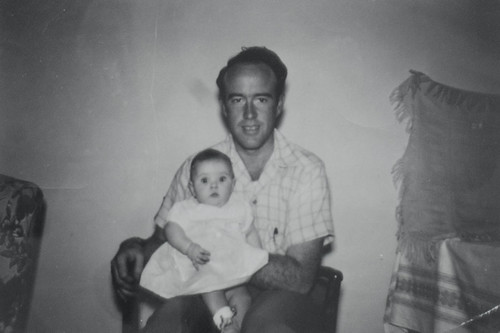
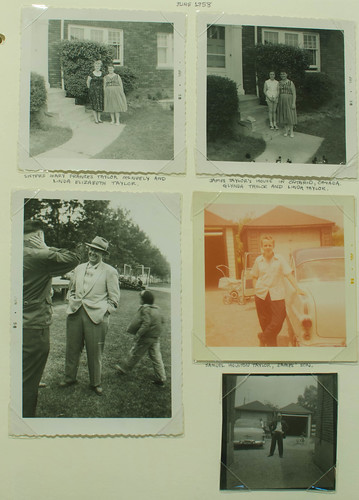
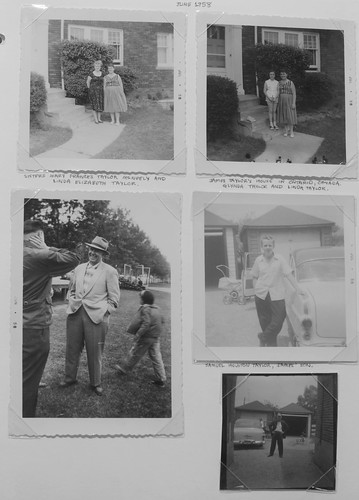
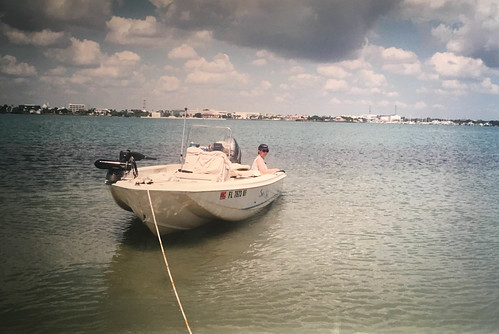
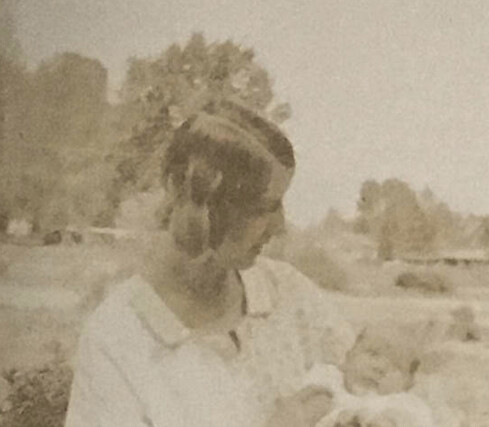
Since I had this set up, I decided to try an album, even though I knew the resolution wouldn’t be great. Here are some shots from one of Laura’s family’s albums.
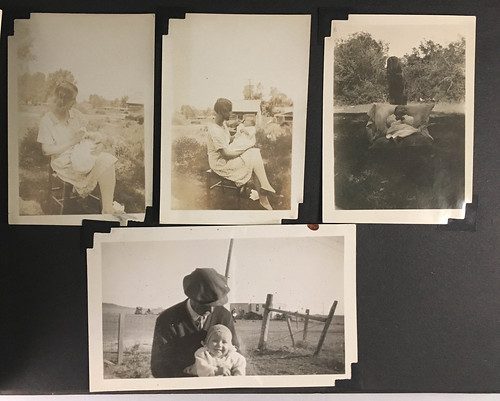

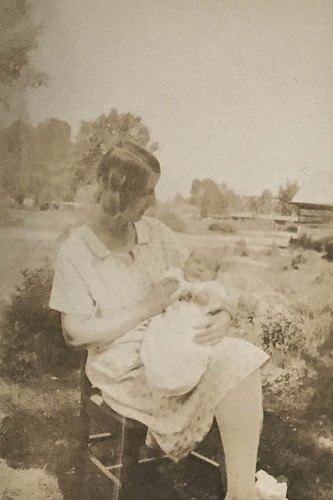
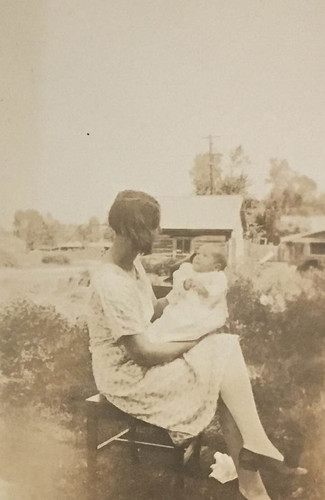
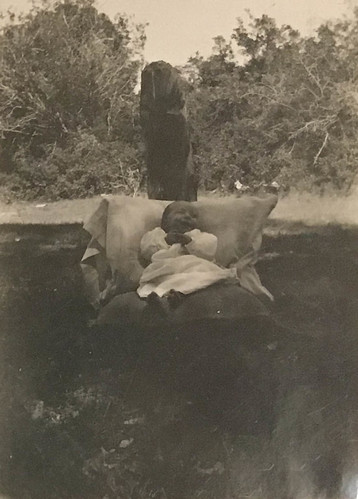
The little girl in the photos above, BTW, is Laura’s mom. The individual photos are only slightly over one megapixel. Zoomed in, there are lots of artifacts and blurs. Oh well.
I’m still trying to figure out the workflow. I’ve got tons more photos from the Taylor Family albums I photographed. Now that I have the albums captured, I can work on the images as I have time. We’ll see. I may decide that my time is worth a better scanner with a feeder. Now, about those Wright Family photos…

Tom,
Arkiver is a Greenville startup that allows for building digital scrap books using your own storage (Dropbox, Amazon, etc). I work around with them at OpenWorks downtown.
You might check them out as a way to organize your old photos.
Jim